Total Time 1 hour Ages school-age
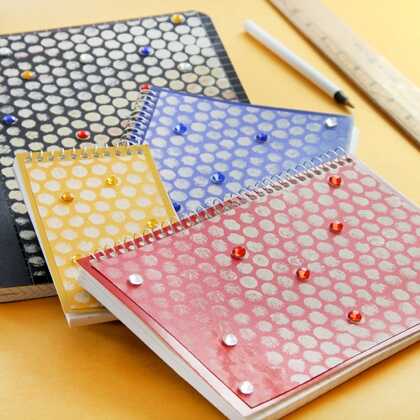
Fast-flying fairy Zephyr is hard to beat at the Honeycomb Climb, an event of yore in which competitors race to collect hidden gems. With this quick bubble wrap painting technique, kids can embellish their notebooks with colorful jewel-filled honeycombs - just like those in the Pixie Hollow Games.
by Cindy Littlefield
What you'll need
- Notebook
- Black or any solid color sheet of heavyweight craft paper or cardstock (roughly the size of the notebook cover)
- Scrap cardboard or newspaper to cover your work surface
- Acrylic craft paints, off white or white and any other color you like
- Small foam brush
- Paper plate
- Ruler
- Pencil
- Scissors
- Good quality glue stick (a tacky glue stick works especially well)
- Stick-on faux gems
How to make it
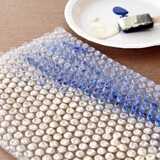
1. Squirt some paint on the paper plate. Set the bubble wrap on a flat surface with the bubbles facing up. Use a foam brush to spread paint across all of the bubbles. Note: White or off white paint will look the most like honeycomb, but it can be fun to blend in a margin of color along one side or across the bottom, as shown.
2. Pick up the painted bubble wrap by the edges and immediately set it painted side down on the sheet of craft paper or cardstock. Gently press straight down on the plastic to make sure all the bubbles touch the paper. For the best results, try to avoid sliding the wrap sideways as you press it.
3. Starting at one edge, carefully lift the bubble wrap from the paper to reveal your printed design. Let the paint dry completely.
4. Trim the printed paper to fit the notebook cover, using the ruler and pencil to draw straight cut lines. Then glue the paper onto the cover.
5. Now add a little sparkle to your honeycomb cover by filling random cells with stick-on faux gems.
Crafts


